Friday, October 29, 2010

Material Modelling | Week 4


"Transformation"

I decided to use the simplicity of a cube structure and shape to define the word I have chosen. For the poster, I decided to illustrate the transformation of a cube that started as a void, then slowly developed in 3 different stages into the more detailed cube.

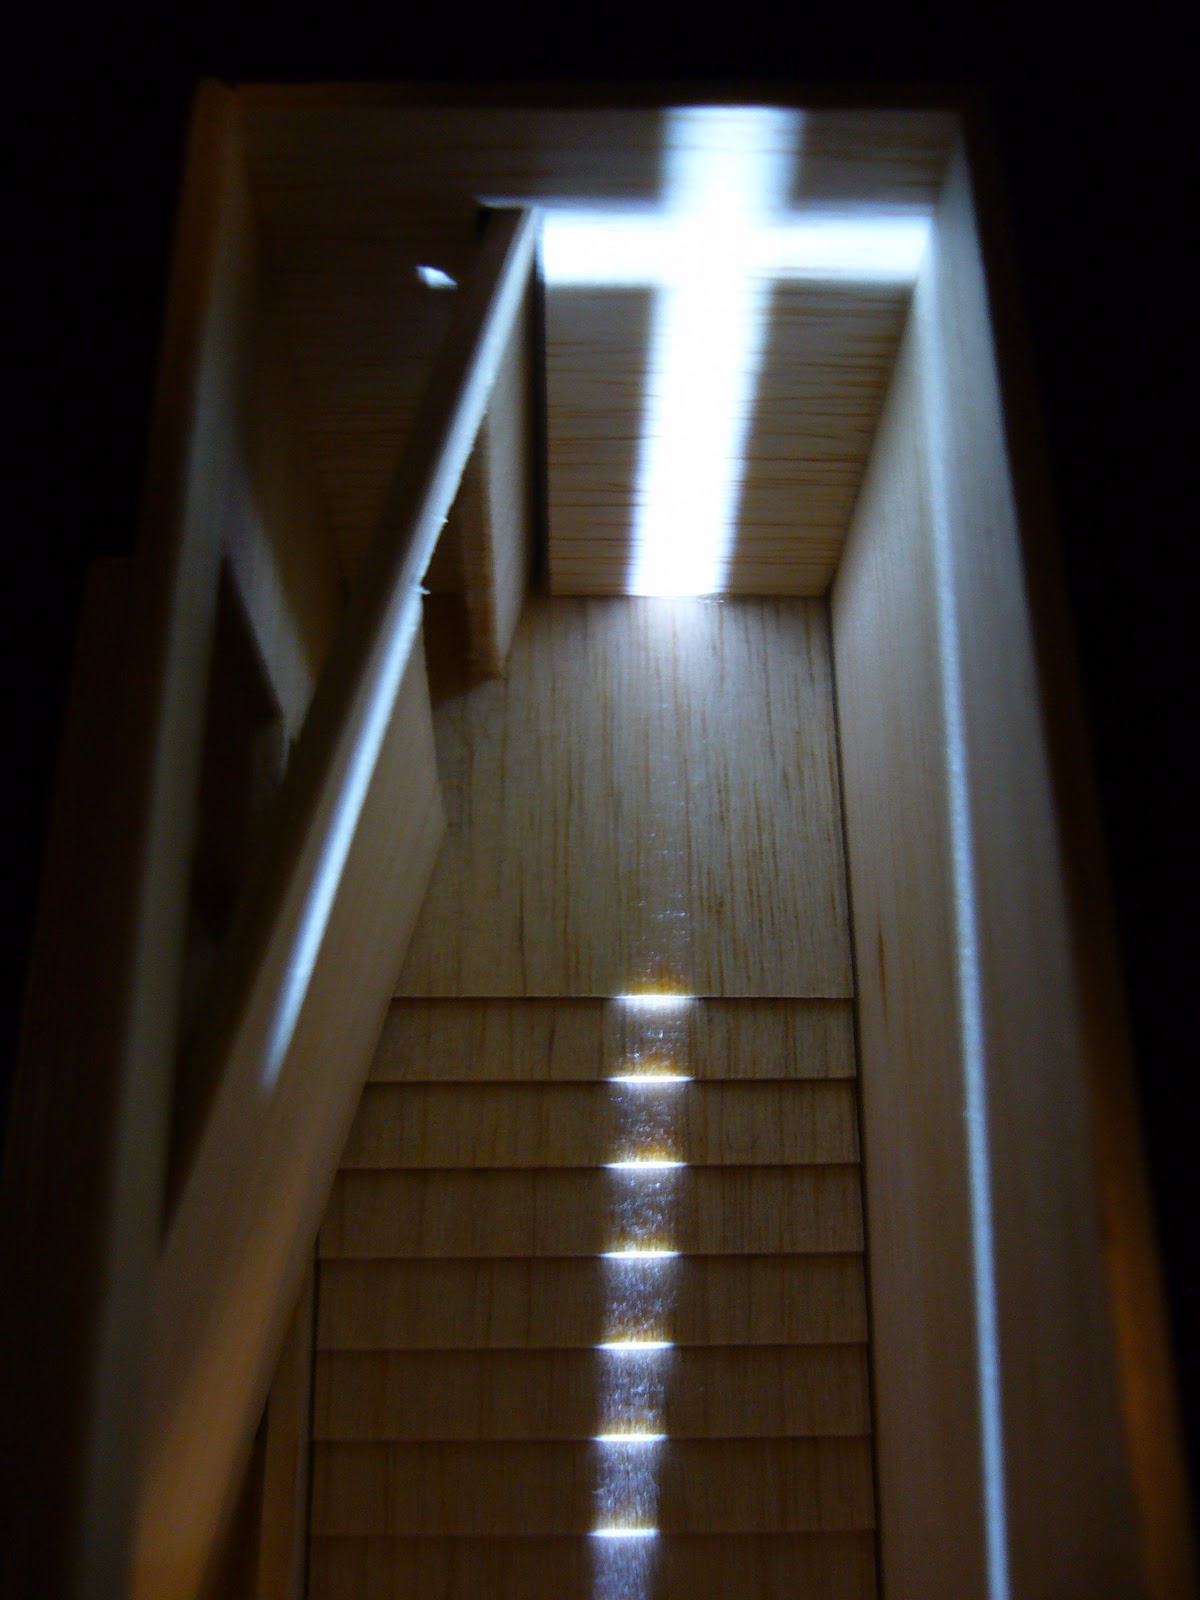
For my model I have constructed a series of cubes that grow in size to indicate the direction I want the eye to move, from left to right. This is how I wanted my model to be read. My cube structure starts as a 2d image, on the surface of the board, that slowly grows to a 3d shape, with structures, and finally transforms into the final solid surface with intricate lined detailing on its surface. I came into this class with a white canvas, but with a basic outline as to what I was about to learn. As the weeks progress, so does the foundation of this model. The final cube represents a much more refined version as compared to the very first cube in the model. 

Overall this workshop was really fun and although it took me awhile to "loosen" up and start thinking more freely and abstractly, I eventually started to get the gist of it and really like how we were given the freedom to express our thoughts and feelings into models that did not have to resemble things that were to be built in real life. There were no boundaries in that sense. I felt it was a great way to express thoughts to be developed into something that could be used in our design schemes in later stages of our thinking process.

Material Modelling | Week 3


The smell of spring, bright and cheery, magnified by the smiling sun shining upon the park as I walk through its grassy green paths, birds chirping in the air. All the living things are starting to come out of hibernation; trees with fresh sprouted young leaves, flowers blossoming, adults laying on the grass reading books and children playing ball or Frisbee amongst themselves. It was the feeling of happiness and joy, the celebration from a dull gloomy winter to the jubilant vivid colours and sounds of spring.

Everything around me was distinct in textures and patterns, with the patterns of nature differing the textures of the urban city directly next to it. Starting from Hyde Park, I begin to snap photographs of textures and patterns of any object that played a part in identifying its environment. Upon exiting the serenity of the park back into the hustle and bustle of the urban city, the sun slowly disappeared into the clouds. It seemed like the weather was trying to play a part in my walk that controlled the mood of the environment.

The winds grew really strong, causing one to mischievously think if it were possible to be blown away. The organic textures and patterns of nature and its fresh vibrant colours now disappeared as fixed repetitive rigid lines of the urban city took over. With the tall, handsome and majestic buildings towering over one’s head, it left a portion of the blue sky as its only link to nature. 

Material Modelling | Week 2


Week 2's exercise was to interpret an article that was given in class from Week 1 and gel it together with an architect's work to create a model that would relate to both subjects. The article I read was the "The Visible and  the Invisible" by Maurice Merleau-Ponty. The architect's work I chose was the Jewish Museum by Daniel Libeskind. I felt that article kind of related to Libeskind's work in that sense like how he created spaces and feelings that were actually invisible physically but visible to other senses. I decided to focus on this one space of the Jewish Museum which I found rather intriguing; the "Holocaust Void". The void had a single window at the top like the light at the end of the tunnel, while the rest of the space gave a feeling of emptiness and sorrow, making one yearn more for the freedom beyond that tiny window of light. 

For this model I decided to re-create my version of the void in relation to the article I read. Though it isn't very obvious in this picture from a single angle, I actually used many pieces of white cardboard sticks which I cut to encase a void in the middle of the mass. I did not want to create an obvious void, rather my intention was to let one feel the void's presence within the mass. 

Overall I think I wasn't very successful in this exercise because the model is rather perforated, making the void in the middle rather difficult to spot. 

Storyboarding | Week 4


For the final assignment of this workshop we were told to storyboard our bath house project. This was extremely tricky to do because we were actually still in the early stages of our design schemes. This assignment made me finalize my bath house scheme earlier than planned so that I could try to imagine the spatial experiences of the user. For this storyboard, I decided to use the dark bold lines of the black liner pen and linear shading to emphasize on the roughness of the concrete material which I chose to use in my bath house project. I found this exercise extremely helpful in picturing what spaces could look like without computer aided softwares with the quick sketch of the pencil and lining of the pen.

The orientation of the storyline was to be read from left to right (1st row), right to left (2nd row) and left to right again (3rd row). So the first image shows the picture of what one might see when approaching the entrance of the bath house. He'll walk past the waiting area with built in seats and into the courtyard where the changing rooms are located. After that he will begin the journey of bathing by entering the sauna room, which contains steps that lead into the hot bath. The passageways are filled with hot water as one moves through the different cubes. He will exist the last bath by entering the external cold bath that is situated beside the sun beds where he can relax after the whole activity. The stairs at the end are where it leads back up to the courtyard where the changing rooms and showers are located.

Storyboarding | Week 3


Following Week 2's exercise, we were told to visit one of the buildings in UNSW listed and my chosen building was the Lowy Cancer Research Centre. This building appealed to me because of its long green rectangular tubes which run the lengths of the facade, splitting into two directions at the opposite end. I wanted to take the opportunity to explore this building further so I picked it to draw my experience through storyboarding. 

The technique I picked was Lines and Pencil. The facade had many beautiful repetitive lines and patterns and I wanted to focus on that aspect of the building. Therefore I chose to draw it with simple lines and no shadings whatsoever to focus on the shape and pattern of the building.

Tuesday, August 17, 2010

Model It! | Week 4

Week 4 - Presentation of the Fisher House Site
View from the creek

Overview of the whole site model

With the whole house lifted up to see the basement sunk into the slope

Interior of the 2nd level of the left cube and 1st level of the right cube


with more prominent sunlight and shadow play cast into the interior


The Fisher House designed by architect Louis Kahn is situated in Pennsylvania. It shows a concept of two cube masses interlocking and cutting into each other, forming interesting interior spatial circulations and a beautiful facade sitting on the top of a sloping grass patch overlooking the creek.

Building models requires the understanding of detailing of the building in order to construct it as best I could to replicate the original. As I have never done site models before, this was a great experience such that I learnt I should plan way in advance how I was going to construct the way the building would cut into the ground, like how in the Fisher House project, it has a basement that opens out to a porch at the lower end of the slope. I was lucky that I built the site model in a way that I could easily cut off where the building would sink in place without destroying the completed sloping site.

Looking around at what other people had achieved was intriguing. I saw how other students had even constructed the furniture in the building down to the refrigerator in the kitchen and the bathroom urinals and basin taps. It was amazing how they could get down to such detail and upon questioning, I found out that they had used tweezers to help place the teeny tiny bits in place. I saw how some also patched up the little gaps of imperfection with wood fills and sanding the surface off to a smooth clean finish. It was great to look at what everyone had done and I learnt lots of nifty little tricks that one can use to make beautiful presentation models. It also made me wish I had more time to work with my model to perfection.

Model making is really really time consuming and requires lots of effort, patience, determination and passion to see your model come up from scraps of balsa to the final completed piece of artwork. Every bit of effort shows through the joints and cuts you made. It not only helps in conceptualization, but also helps you visualize how your designs could look in real life, and how it could be constructed. Though it took many sleepless nights to try to complete the model, honestly, I would do it again. It was just so satisfyingly worthwhile when you see your completed piece of work.

Model It! | Week 3

Week 3 Class Exercise - Interior Detailing of the Fisher House by Louis Kahn


Interior detailing is one of my favourites to work with. While studying the interior perspectives of the Fisher House, I saw the direction in which the floorboards were being laid and wished to emphasized that with this model exercise. I decided to cut lengths of balsa wood in 2 different widths and just randomly pieced together the flooring trying to resemble the one in the picture. While it was extremely time consuming (everyone in class basically nearly completed the whole model when class ended while I only had the floorboards done with one wall standing) the end results were rewarding. I thought this was an excellent exercise such that I kind of learnt how things had and could be constructed, whether or not a design concept is feasible when it is to be constructed in real life.

Model It! | Week 2

Church Of Light by Tadao Ando

This take home assignment was a great practice for my model making skills and getting to know the characteristics of balsa wood. I chose a rather thick balsa wood for the walls to represent its thickness on plan. But when joining the walls end to end, I realized the ugly joints it created as you could see the cut grains on the ends of the wood that couldn't be covered. A way to improve the exterior look of the model is to maybe use thinner pieces of balsa to go over the whole wall again to cover the corner joints. 

Also I realized the importance of understanding the spatial circulation of the building in order to make the model make sense. So here are some images of the Church of Light captured:


Trying to play with the light, shadow and shape of the cross hitting on the wall at different times of the day.


Week 2 Class Exercises


The task for studio this week was to create quick sketch models. We had to make quick draft models of different variations of a double slanted roof house. Draft models are great steps in helping to visualize your design. While they do not look fantastic in craftsmanship, the idea is to help you understand the massing of your designs three dimensionally. 

Model It! | Week 1

Week 1 Class Exercise
The task was to construct 2 models of the same house using materials of our choice. At first I didn't know we had to construct the 2nd model. So I picked balsa wood for the 1st one. The house wasn't supposed to stand this way but because of the boxboard used in the 2nd model, the weight of the balsa wood in the first model couldn't support the weight of the 2nd one intersecting it. But well now i know what not to do.

Intersecting models creates new concepts that would be hard to picture in your head. This was a great exercise that would benefit the other design studio class I'm undertaking this semester as well.